TR Basebuilding Guide
TR Basebuilding is one of the most popular base-building mods for DayZ. This guide walks you through everything from your first foundation to a fully defended, multi-floor fortress.
Prerequisites
Before you start, make sure you are:
- In a location that is free and clear to build (no build-zone restrictions apply)
- Not inside a no-build zone
- Part of a group with a flagpole already placed
This guide assumes all of the above are already sorted.
Coming from Base Building Plus?
TR Basebuilding will feel familiar — kit placement, hologram rotation, and snapping all work in a similar way to BBP.
1. Crafting the Foundation Kit
Craft a foundation kit by combining 4 short sticks and rope, then select "Make a set for the building".
VIDEO CLIP demonstrating crafting a foundation kit from short sticks + rope (~5-8 sec)
2. Placing the Foundation
Once you're holding the foundation kit:
- Click to choose a placement — this shows a hologram preview.
- Use the mouse wheel to rotate the hologram.
- Hold Shift while scrolling to raise or lower it.
- When you're happy with the placement, hold left mouse button to set up the kit.
VIDEO CLIP demonstrating hologram placement, rotating with mouse wheel, and shift+scroll to raise/lower (~10 sec)
Add the required materials to the hologram, then use a shovel to build the foundation.
3. Floor Supports
Repeat the process for floor supports:
- Add logs to the hologram.
- Use a hammer or hatchet to construct the piece.
Once the floor supports are in place, more build options unlock — walls and floors, each with their own material requirements.
4. Walls, Doors, and Gates
When you start adding materials to an attachment point (e.g. Wall - 1), the UI shows the recipe requirements needed to build that part.
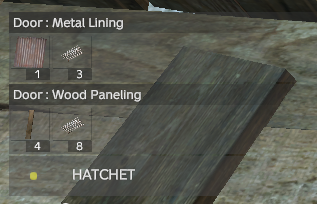
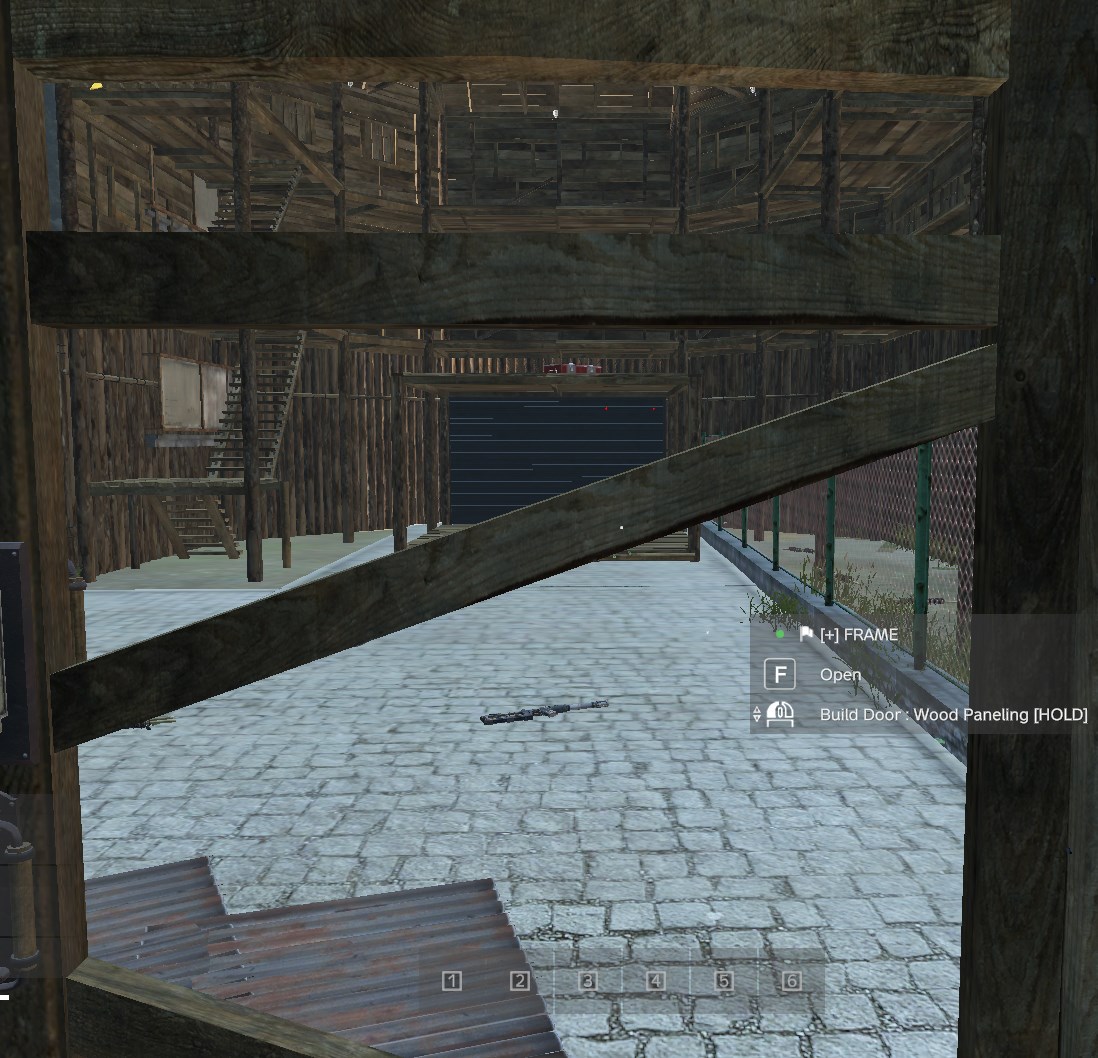
For a door or gate frame, you get two choices:
- Wood panelling
- Metal lining
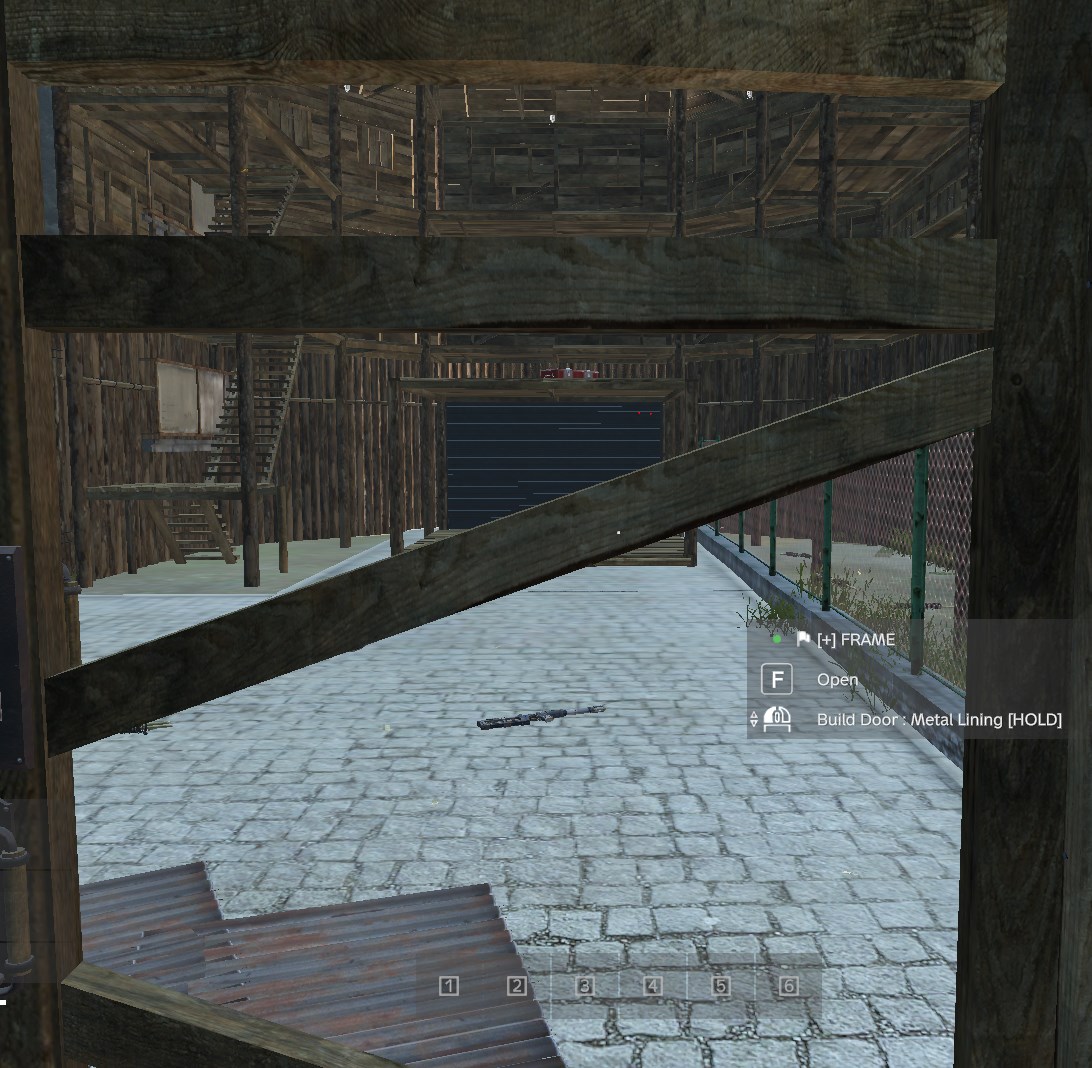
Upgrading materials later
If you build a wood door and later want to upgrade to metal, you'll need to dismantle it first and rebuild. The same applies to walls — there's no direct upgrade path.
VIDEO CLIP demonstrating the wall/door material choice UI (wood vs metal) (~8 sec)
For non-door walls, you can choose between:
- A solid wall
- A wall with a window opening (can be fitted with a sash that opens and closes)
Closing doors before building
Make sure all doors are closed before attempting further construction, otherwise you won't get the build prompt.
You'll need to travel to the edge of the foundation to actually build the wall.
5. Extending the Base
To expand your base:
- Craft another fortification kit.
- Left-click to show the hologram.
- It will automatically snap to any existing foundation.
Watch the arrows shown on the hologram — they indicate where the door opening will be, and which direction is interior vs. exterior.
VIDEO CLIP demonstrating a fortification kit snapping to an existing foundation, showing the direction arrows (~10 sec)
Ground floor limits
On the ground floor you can only place walls, window walls, or doors.
6. Ceiling and Stairs
At the centre of the foundation, you can build either:
- A standard ceiling, or
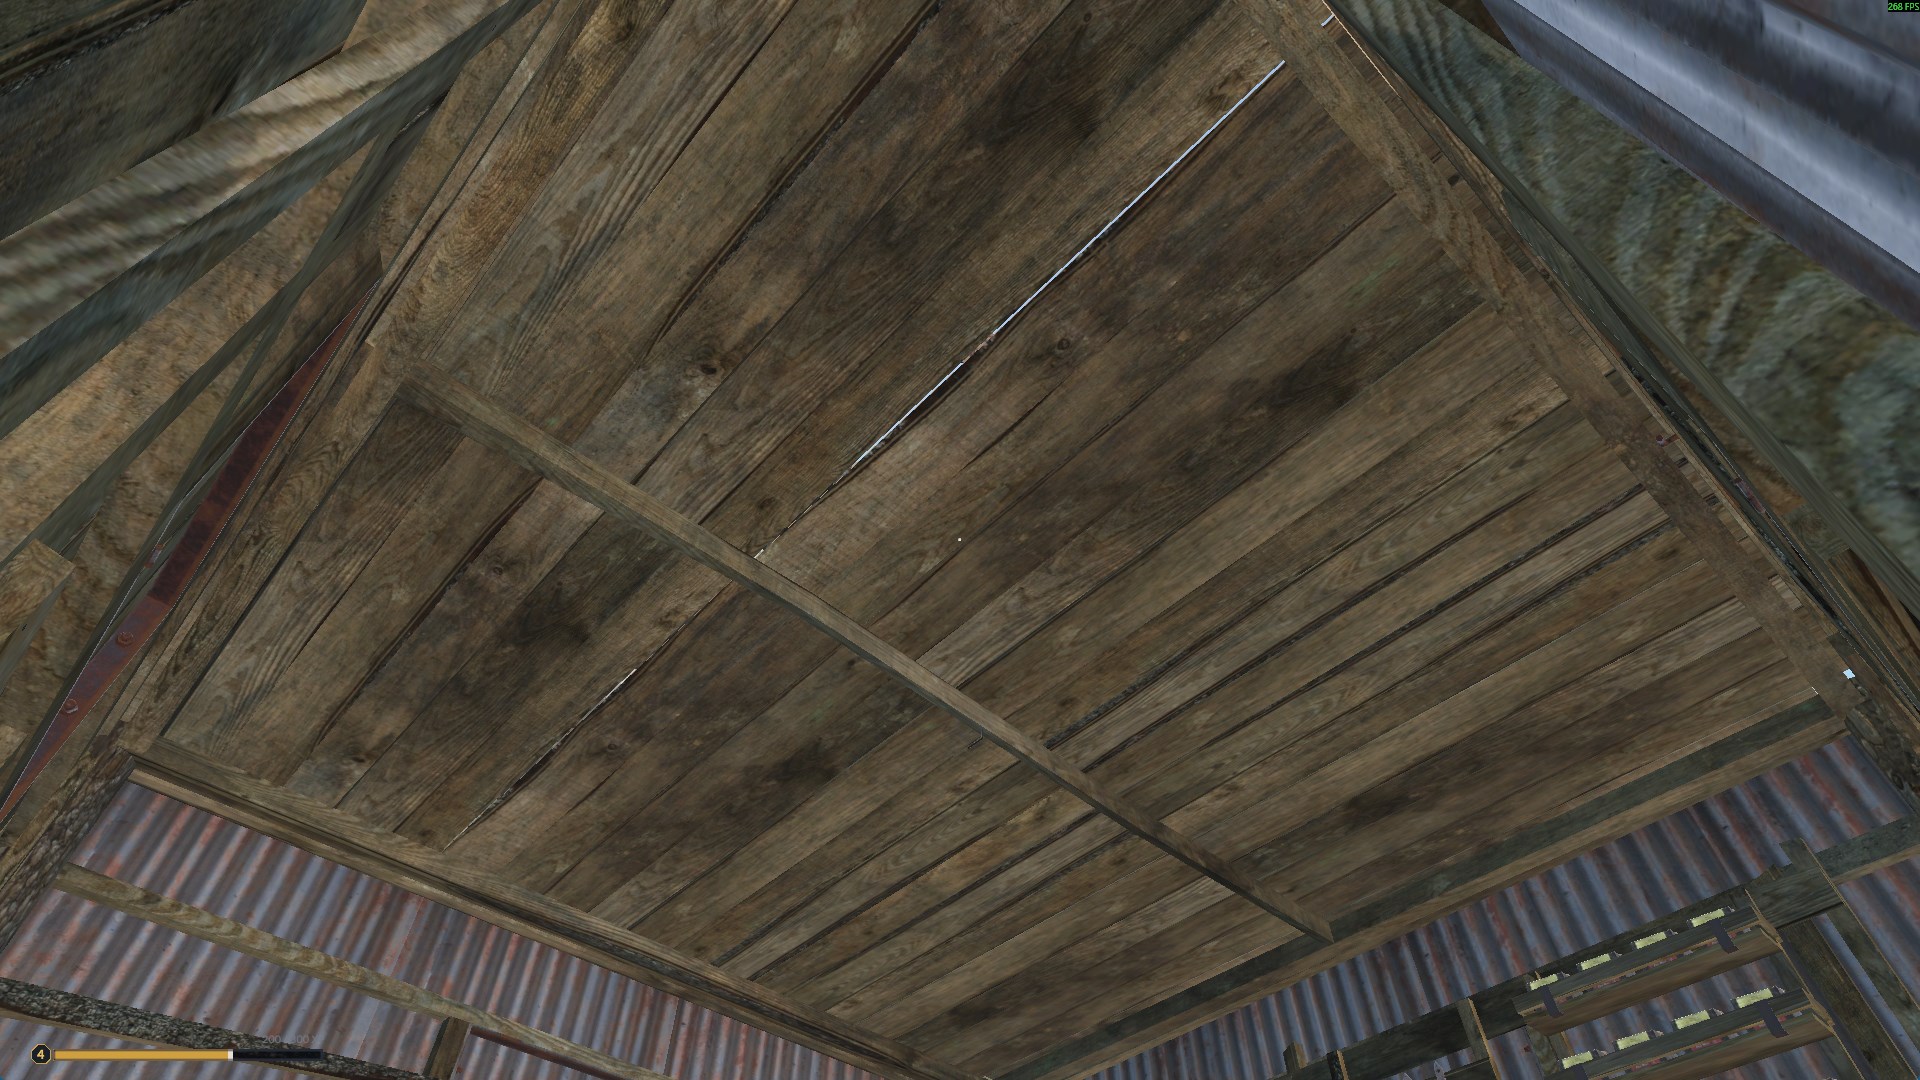
- A cut-out ceiling with stairs
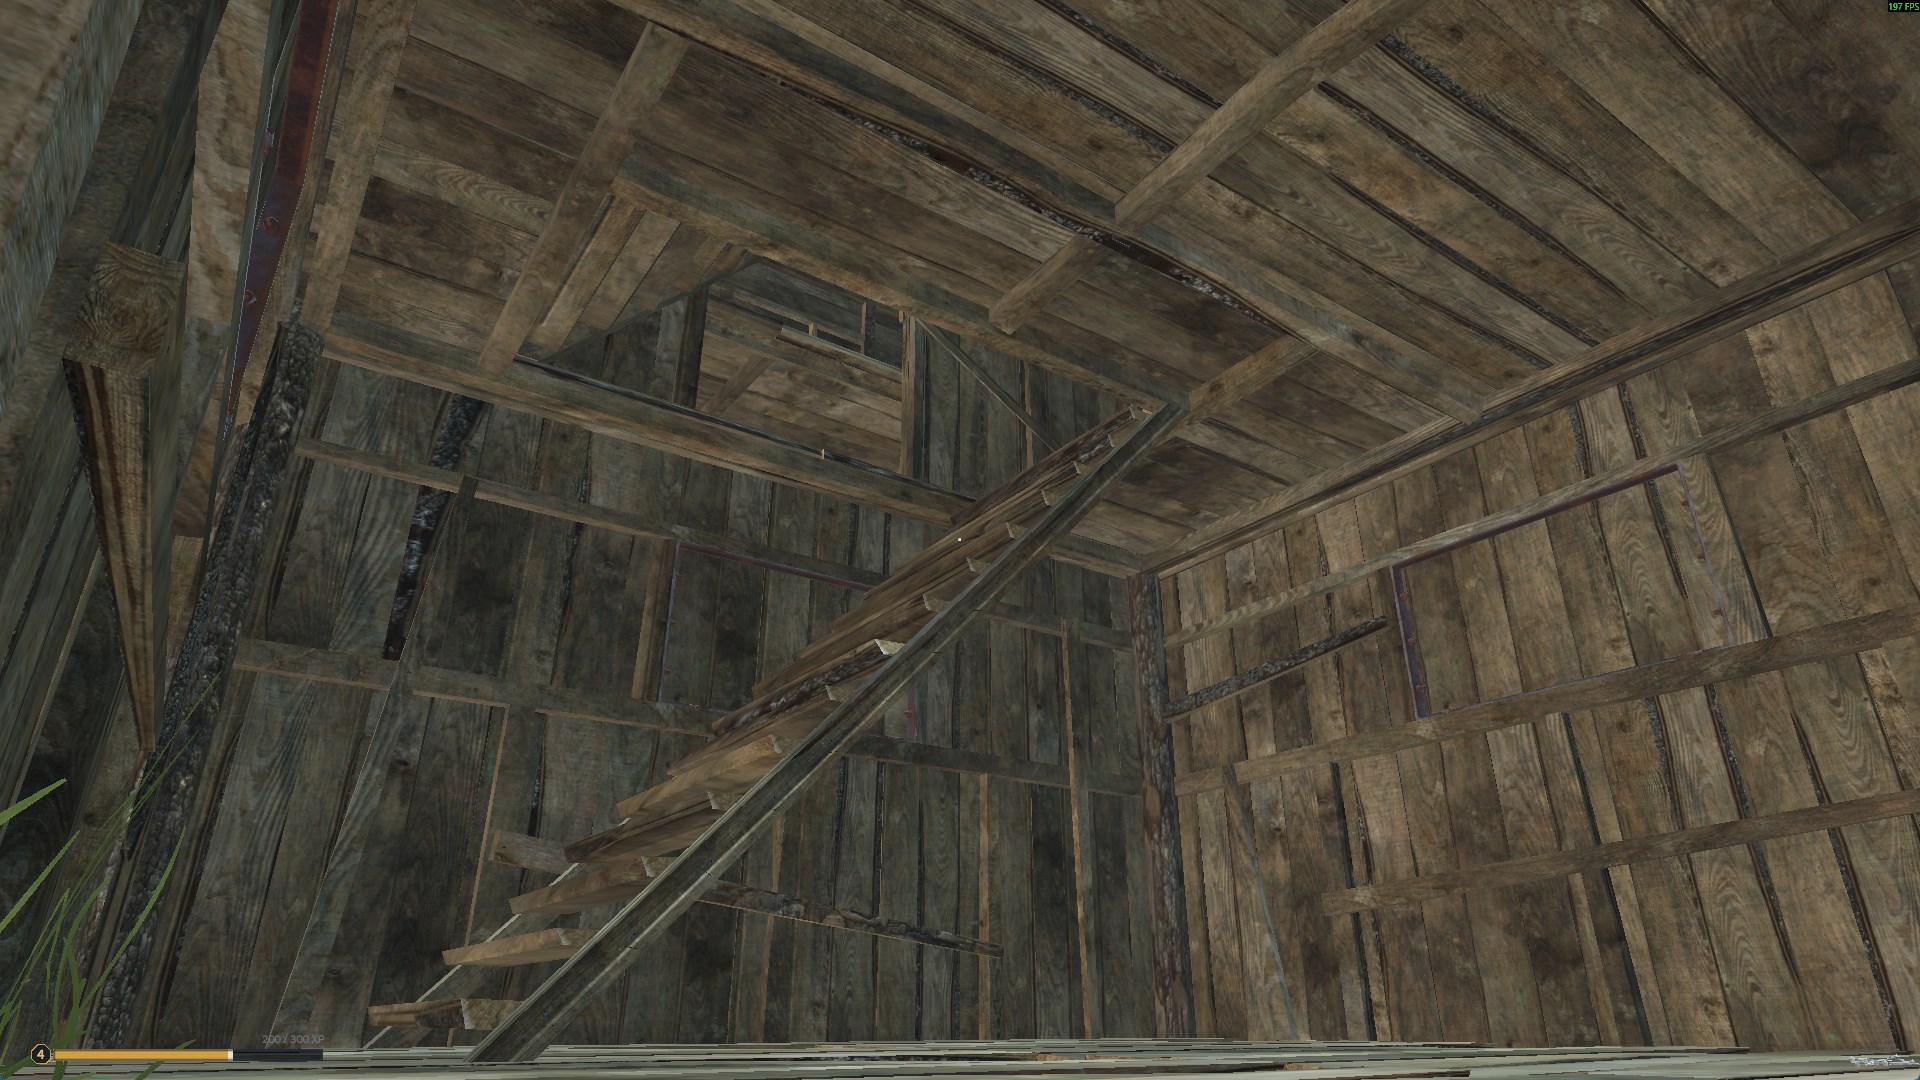
This gives you access to the floor above.
7. Building Upward (First Floor+)
Once on the first floor, you can build supports again — this time for another floor or for a roof.
Wall options change slightly here. You'll choose between:
- Wall — building the frame lets you then pick a solid wall or window wall on the next step
- Opening — builds a wall with a doorway
Door orientation
Just like Base Building Plus, walls and doors have a distinct interior and exterior side. If two foundation kits sit side by side, it's possible to build a doorway facing the wrong way. Double-check orientation before committing, and build the doorway on the correct foundation. It takes some getting used to.
Narrow Doors
On the first floor and above, regular doors aren't available — you need a narrow door, crafted the same way as the foundation kit (short sticks + rope).
When placing it:
- The hologram shows arrows and will try to snap to the doorway.
- If it won't snap, move your character and/or mouse slightly until it does — this can be finnicky.
- You can change the orientation by moving the mouse. The door's exterior side faces the direction the arrow tip points.
VIDEO CLIP demonstrating crafting and snapping a narrow door kit on an upper floor (~10 sec)
8. Roof and Roof Space
You can build up to 3 floors high, with an accessible roof space above the third floor.
In the roof space, you can only build a small window — and it must face the same direction as the original ground-floor door.
Roof orientation is fixed
If you join multiple foundation kits together, roof orientations may not line up the way you'd expect. This is normal — roof construction is preset and its orientation cannot be changed.
9. Workbench
From the first floor upward, you can build a workbench to store construction materials.
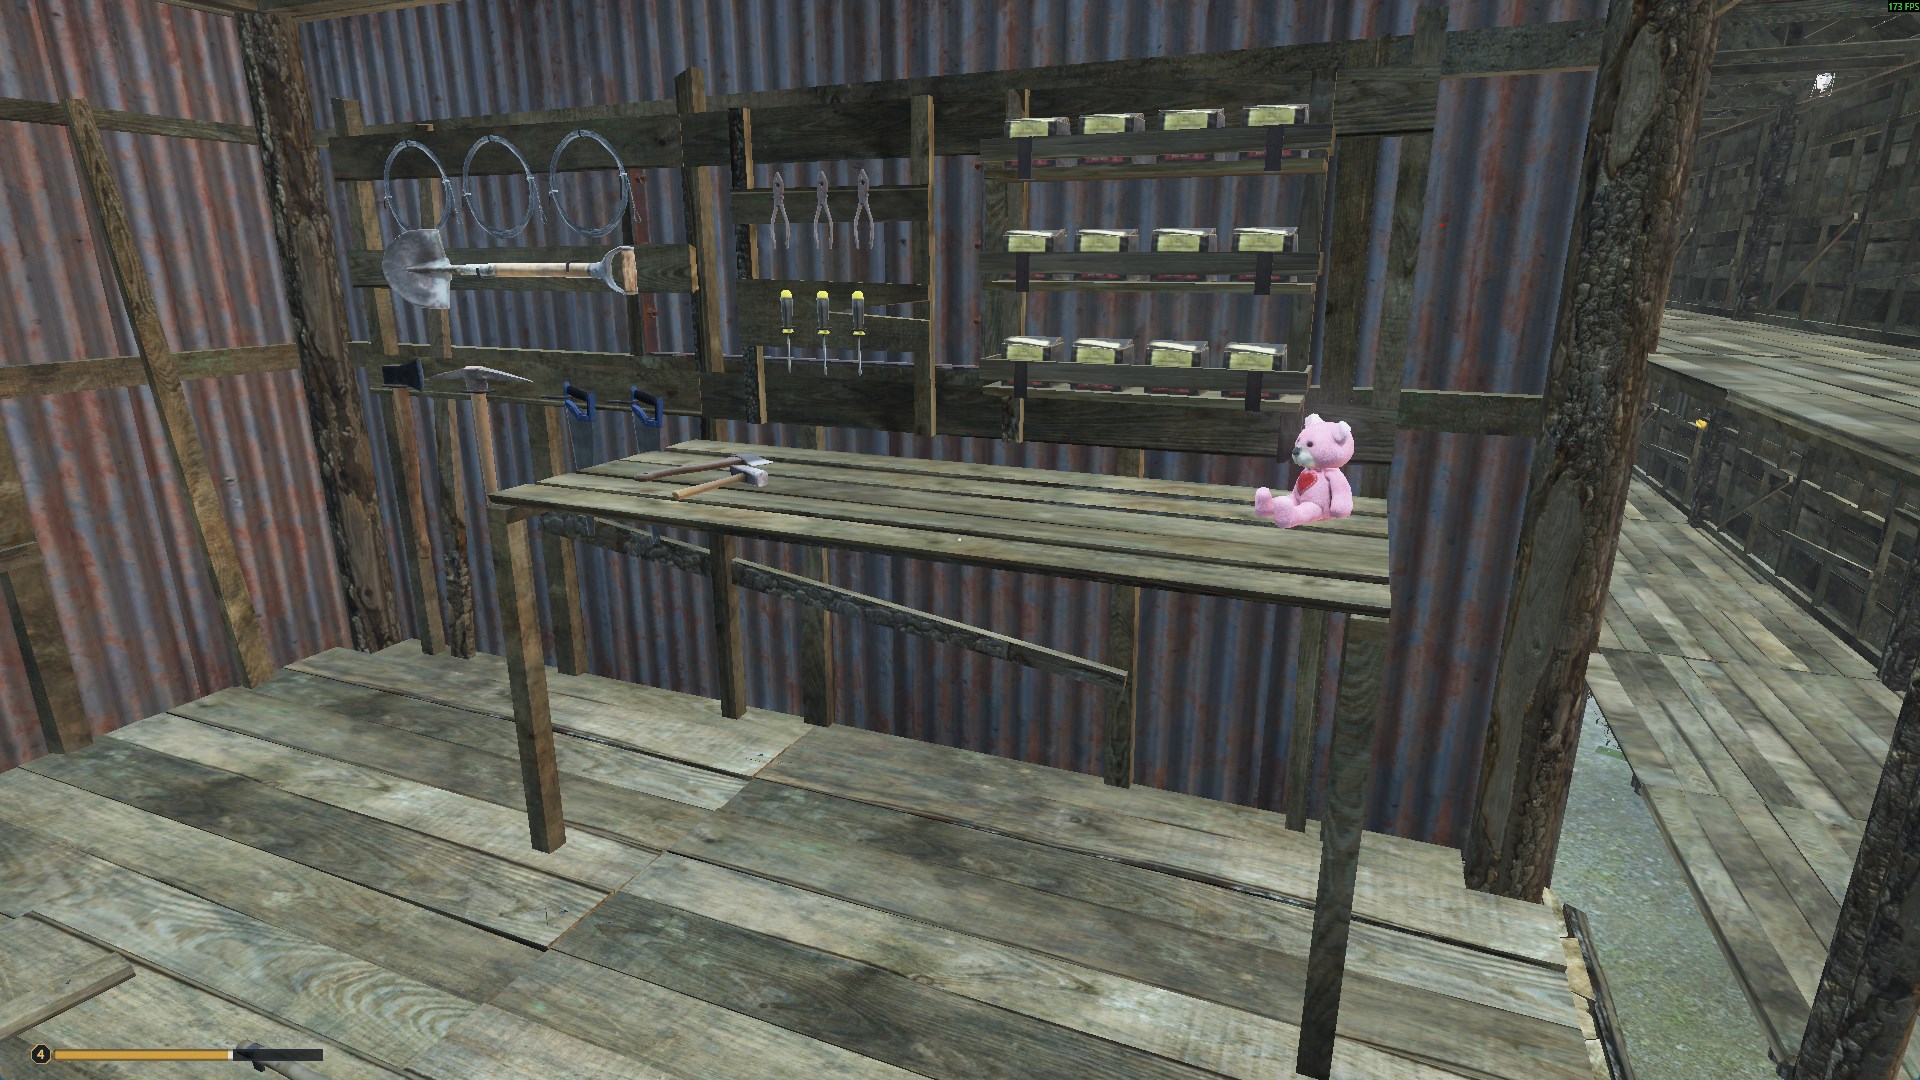
10. Growing Your Base
From here, it's simply a case of adding more foundation kits and joining them together to build out your fortress.
Before you finish
- Make sure your build complies with the current base building rules — always check Discord for the most up-to-date version.
- Share your finished build in the Wasteland Reborn Discord!
Need help?
Reach out to a member of staff or the community on our Discord if you have any questions.